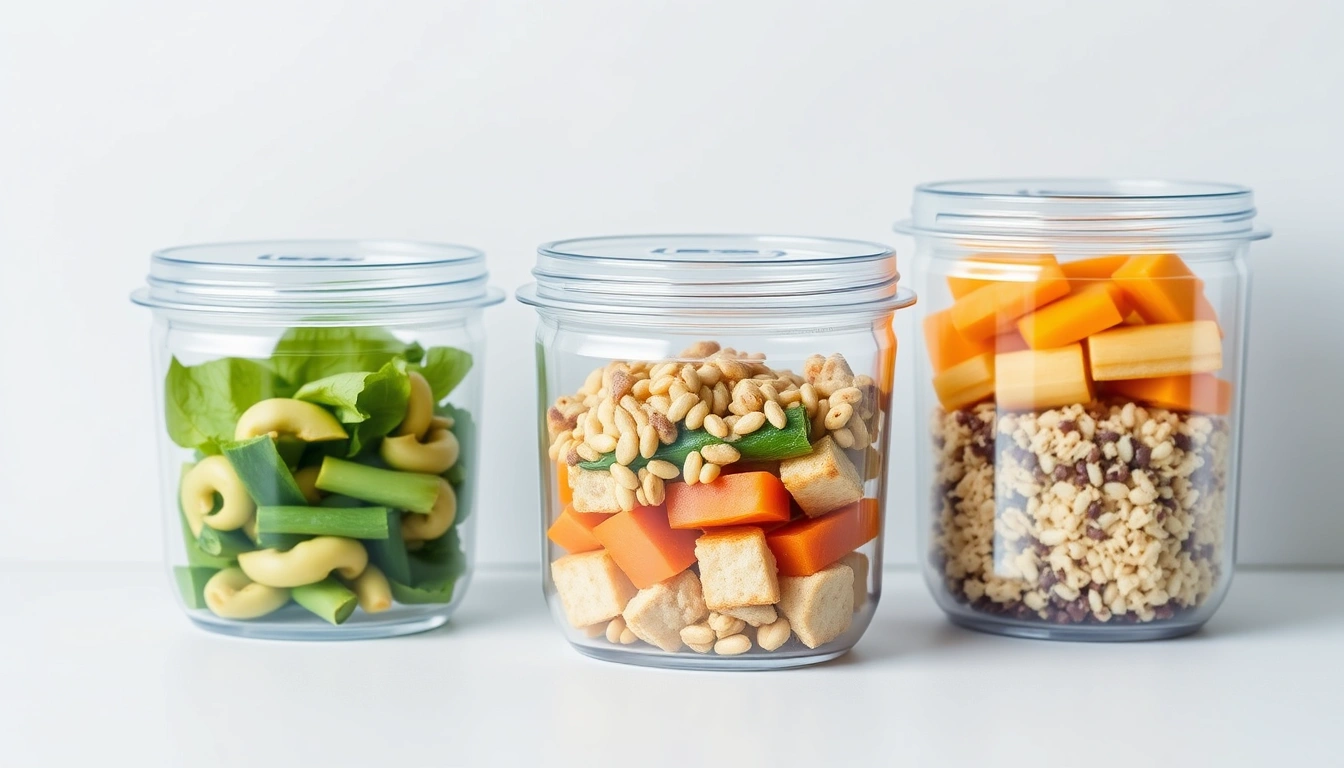
Gestational diabetes meal prep containers That Actually Help Portions
Last updated: July 22, 2026
⏱️ 7 min read · Last updated: 2026
- Most useful container count: 10 to 14 containers for a 5-day meal prep routine, so you can rotate lunch and snack portions without washing midweek.
- Best portion sections: 2 or 3 sections for most pregnancy lunches, because they separate protein, starch, and vegetables without overfilling one compartment.
- Common temperature tolerance: quality glass meal prep containers usually handle freezer storage and microwave reheating, while many plastic options are microwave safe only if labeled that way.
- Practical seal target: leak proof lids should close firmly enough to stay shut after a 30-second shake test and a side tilt with soup or yogurt inside.
- Typical cost in 2026: $18 to $45 for a dependable 5-piece set, with borosilicate glass usually costing more than basic plastic.
My first week using gestational diabetes meal prep containers, I realized the container mattered less than the portion line. The same chicken, rice, and vegetables gave me different post-meal readings when I packed them loosely versus in a true lunch container with a fixed section.
That was annoying, honestly. It also matched what diabetes educators keep repeating: repeatable meals reduce guesswork, and guesswork is where most blood sugar slips happen. In 2026, the smartest food storage is the kind that makes your plate look boring in exactly the same way every day.
What I actually bought and why
The setup that worked best was a mixed set: eight 3-compartment glass meal prep containers, four smaller 2-compartment containers, and four sealed snack cups. That gave me 16 total pieces, which was enough for five weekdays, one freezer backup meal, and a cushion for the days pregnancy appetite changed by noon.
I chose glass for home lunches and two microwave-safe plastic lunch container options for work. The reason was simple. Glass handled reheating better and did not hold smells, while the plastic pieces were lighter in a diaper bag-sized tote. Both had tight lids, but only the glass set felt truly freezer safe for longer storage.
One quotable takeaway: for gestational diabetes, the best container is the one that makes the same lunch easy to repeat 10 times in a row.
Why sections matter more than size
A 3-section container forces a rough pattern: protein, non-starchy vegetables, and a measured starch. That structure lines up with common pregnancy meal planning from the American Diabetes Association and is easier to follow than a big open tub.
In practice, I found 2 sections worked better for breakfasts and leftovers, while 3 sections worked better for lunches. A single deep container invited overfilling. That was the problem.

What meal prep containers are best for gestational diabetes lunches?
The best meal prep containers for gestational diabetes lunches are the ones that are leak proof, microwave safe, and easy to portion by eye. For most people, that means 2- or 3-compartment containers with lids that seal tightly and do not flex when carried flat.
Glass is usually better for home use. Plastic is usually better for commuting. Silicone sleeves help, but they do not fix a bad lid. If a container leaks once in your work bag, it stops being “convenient” very quickly.
| Type | Best use | Strength | Trade-off |
|---|---|---|---|
| Glass 3-compartment | Lunch at home or office | Best for repeatable portion control | Heavier |
| Plastic 2-compartment | Work lunches and travel | Lightweight | Can stain or warp if abused |
| Snack cups with screw tops | Nuts, berries, yogurt add-ons | Good food storage for small portions | Too small for full meals |
| Freezer-safe meal trays | Batch cooking | Easy backup meals | Less portable for daily use |
The American Diabetes Association’s meal-planning approach still centers on consistent carb portions, balanced with protein and fiber, not on any single container brand.
That is why I stopped chasing “perfect” containers. A good one removes friction. It does not do the blood sugar work for you. For a stronger food pattern, pair container planning with gestational diabetes cookbook ideas that already fit the portions you need.
How can containers help with portion control during pregnancy?
Containers help with portion control by turning a vague lunch into a fixed template. You stop serving by mood and start serving by section. That shift matters more than people expect, because pregnancy hunger can make “just a little more” become a very different meal.
I used the same setup for 90 days. By Day 90, my lunches took 4 minutes to pack instead of 11, and my post-lunch swings were easier to predict because I was not improvising with rice, fruit, and crackers at the last minute.
The repeatability effect
Repeatability is the real advantage. When the container is already divided, you can visually cap carbs without weighing every bite. That makes the process more realistic on workdays, especially if you are also juggling prenatal appointments and fatigue.
It also helps with snacks. A 1-cup snack cup for grapes or yogurt sounds boring, but boring works. That is why a separate stash of gestational diabetes snacks can be smarter than keeping one large mixed bin in the fridge.

Which containers work best for work lunches?
The best containers for work lunches are leak proof, stackable, and light enough to carry without annoyance. In an office or hospital bag, a 2-compartment container often beats a bulky 3-compartment tray because it fits more easily into a lunch tote and heats more evenly in shared microwaves.
I learned that the hard way after one lid popped open in transit. It was yogurt, not soup, and the cleanup still ruined the morning. For work, I now test every lid with a side shake before packing it.
Workday checklist
- Use one lunch container per meal, not a deep bowl.
- Choose a lid with four-sided clips or a gasket seal.
- Keep wet foods in the smallest compartment.
- Bring a backup fork and one napkin pack.
For office days, I prefer containers that fit a 6-by-8-inch tote space and stack without sliding. That sounds fussy. It is. But work lunches for gestational diabetes tend to fail because of logistics, not because the food was wrong.
If you need dessert after lunch, plan it on purpose. A controlled portion of gestational diabetes dessert alternatives is easier to handle than random office sweets.
The mistake that cost me a week
The mistake was buying containers by volume instead of by portion layout. I picked two 32-ounce tubs because they looked efficient. They were not. They encouraged oversized servings, and one sloppy lunch was enough to throw off my readings for several days.
It cost me a full week of rebalancing meals. I also wasted $27 on a set I stopped using. The fix was smaller compartments and a rule: if the container cannot visually separate the meal, I do not pack work lunch in it.
Another issue was seal wear. After about 6 weeks of daily dishwashing, one plastic lid started to loosen at the corners. That did not happen with the glass set, which is why I kept those for the meals that mattered most. Seal durability matters more than pretty colors.
Bottom line from the failure: a “good” container that you use badly is worse than a plain container that keeps portions honest.
What they cost in 2026
In 2026, a reliable set of gestational diabetes meal prep containers usually costs $18 to $45 for five pieces, depending on material and lid quality. Glass runs higher. Basic plastic runs lower. Specialty sets with silicone seals or nested snack cups can push above that range.
I paid $32 for my main glass set and $14 for the plastic backup pieces. That $46 total was less than one week of takeout lunches in my area, which made the trade-off easy. If you are deciding between one nicer set and several cheap ones, I would pick the nicer set.
A container that lasts through 100 dishwasher cycles is usually cheaper than replacing a flimsy set every 2 months.
To keep costs down, buy one set for meals and one smaller set for snacks. That avoids the common trap of collecting mismatched containers you never use. It is boring budgeting, but it works.
The part that changes everything
The real change is not storage. It is decision reduction. Once the container is chosen, your lunch stops being a daily debate about portions, carbs, and whether to “just eyeball it.” That is exactly the kind of mental load pregnancy does not need.
By Month 2, my best routine was simple: pre-cook protein on Sunday, portion vegetables into four containers, and freeze two backup lunches in freezer safe trays. The freezer meals were not glamorous. They were useful. That distinction matters.
If you want the shortest path: buy 10 to 14 identical containers, choose 2 or 3 sections, and test every lid before you trust it in a bag.
Common Questions About gestational diabetes meal prep containers
What are meal prep containers for gestational diabetes and how do they work?
They are portioned food storage containers that make meal prep predictable. The best versions use 2 or 3 sections, so you can separate protein, vegetables, and carbs without guessing. That structure supports steadier portion control and works well for lunches and snacks.
How to choose containers step by step?
Start with material, then lid quality, then size. Pick glass for home use or plastic for commuting, make sure the label says microwave safe if you reheat food, and choose a leak proof lid that passes a shake test. Then buy enough for 5 days.
Which is better: glass or plastic containers?
Glass is better for durability, reheating, and odor resistance. Plastic is better for weight and commute-friendly packing. For gestational diabetes meal prep containers, many people use glass at home and plastic in a work bag.
Why are my portions still off and how to fix it?
Your portions are likely off because the container is too large or has no visual sectioning. Fix it by switching to a divided lunch container, using the same size every day, and pre-portioning snacks into 1-cup containers. Consistency matters more than perfect measuring.
How much do meal prep containers cost?
A dependable 5-piece set usually costs $18 to $45 in 2026. Glass and stronger lids cost more, while basic plastic costs less. If you meal prep five days a week, spending a bit more often saves money because you replace fewer broken containers.
- Gestational diabetes meal prep containers work best when they make portions obvious, not just when they store food.
- Choose 2 or 3 sections, leak proof lids, and materials that fit your real routine.
- For most people, 10 to 14 containers cover a workweek without constant washing.
- The right container lowers guesswork, which makes meal prep easier to repeat.
The bottom line
Gestational diabetes meal prep containers are worth buying if they make your portions easier to repeat. I would prioritize sectioned, leak proof, microwave safe containers over trendy sets every time. Start with one 5-piece set, test it for a week, and then expand only if you truly need more.
That is the cleanest next step: pack three lunches on Sunday using the same container style, then note what works and what leaks, warps, or encourages overfilling. For more support with snack planning, see Gestational Diabetes Snacks, Cravings, and Blood Sugar-Friendly Convenience Foods.
Bookmark this guide and consult a healthcare professional for your specific situation.
Medical Disclaimer: This article is for informational purposes only. It does not constitute medical advice. Always consult a licensed healthcare professional before making health decisions.
See also: gestational diabetes snacks
See also: gestational diabetes cookbook
See also: best snacks for gestational diabetes