Last updated: November 19, 2026
Quick Answer: If a gestational diabetes glucose meter result seems wrong, the first checks are clean hands, a new strip, and control solution; if those do not help, contact a qualified clinician before changing anything. A blood glucose meter can give a reading that looks off because of strip issues, hand contamination, temperature, or a simple technique error, not because the number is always truly wrong. If you are pregnant and the result does not fit the situation, speak to a qualified clinician about your own readings before changing anything.
Who this is for, and what this guide assumes
This guide is for someone using a blood glucose meter during gestational diabetes care who suddenly sees a number that feels impossible, inconsistent, or very different from the last reading. It assumes you already have the basic supplies: a blood glucose meter, test strips, a lancet, and sometimes a control solution bottle, plus an alcohol wipe if that is part of your routine. It also assumes you are not trying to learn target ranges here; that belongs on the gestational diabetes testing and diagnosis hub.
The question here is narrower: “Why does my meter seem inaccurate, and what should I check first?” That matters because a strange result is often caused by the setup, not by your body. Gestational Diabetes and the Glucose Meter Calibration Check: When Results Seem Off is about that setup problem, not about target ranges. Studies indexed in PubMed for 2016–2026 show how active this topic is: 2,522 PubMed records match this query; the 100 most relevant were read and every median, range and share below is computed across those records, and 740 trials are registered on ClinicalTrials.gov for this term; the first 100 were read and every share, median and range below is computed across them, all computed on 2026-10-21 from PubMed (NCBI) and ClinicalTrials.gov.
This is not the page for deciding whether your meter should be replaced, for learning how to monitor blood sugar from scratch, or for translating results into target numbers. It is for the awkward middle step: the reading seems wrong, but you still need to figure out whether the problem is the strip, the meter, the sample, or the timing.
Why a blood glucose meter can look wrong
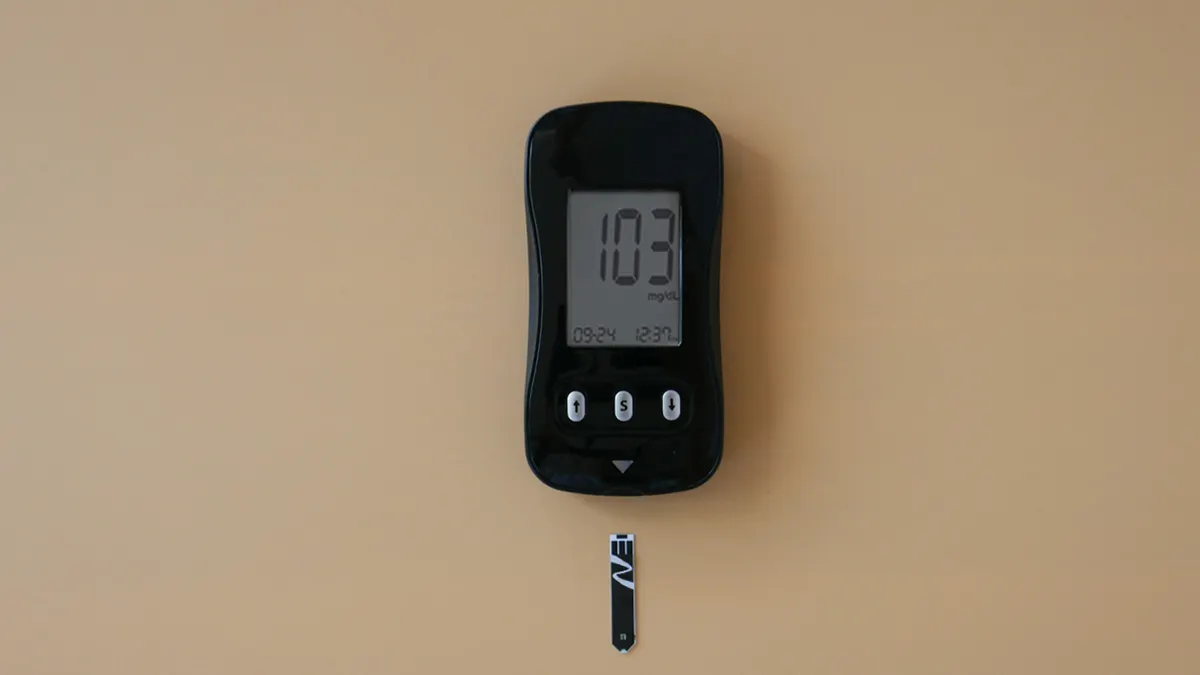
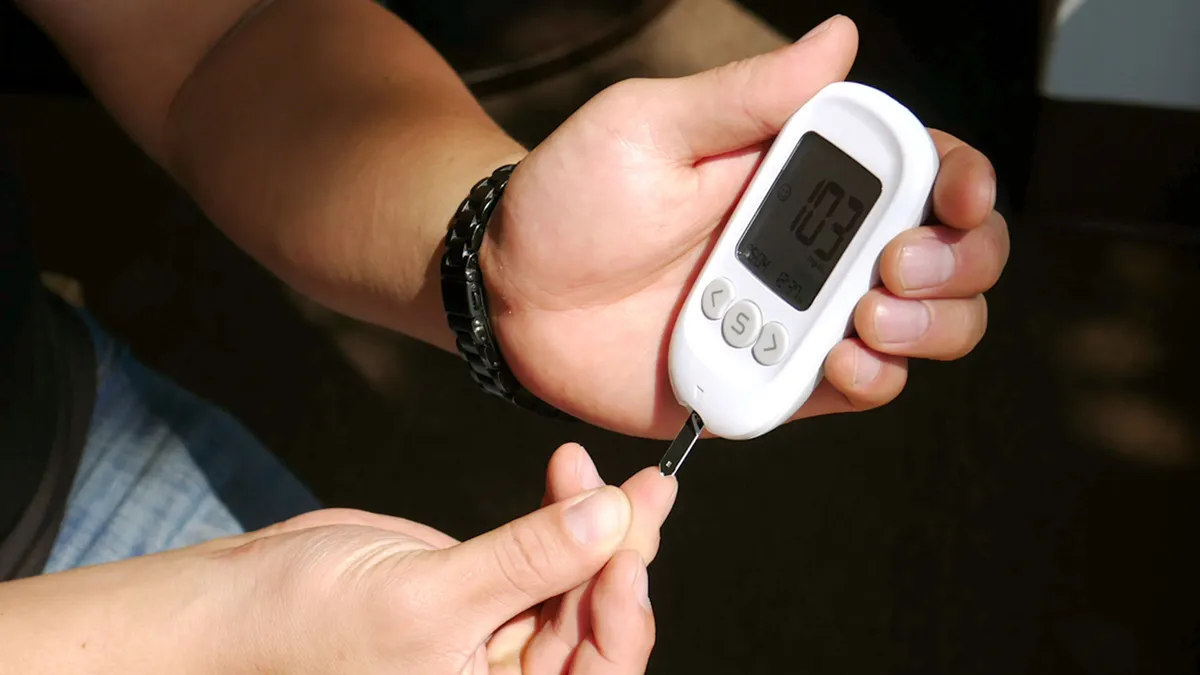
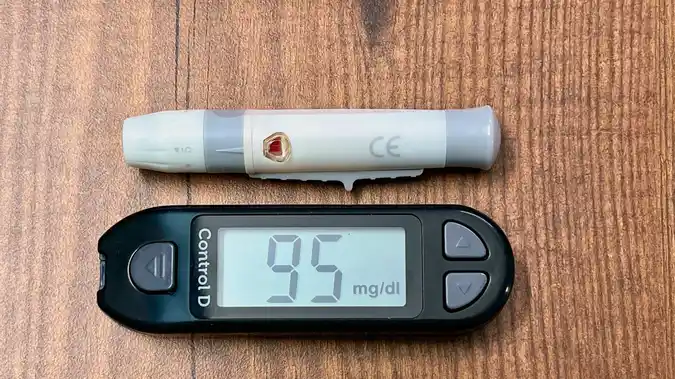
A blood glucose meter can look wrong because the measurement depends on a chain of small things, and any one of them can throw the reading off. The meter only reads what reaches the strip, and that means sample quality, strip condition, and environment all matter.
The most common technical term worth knowing is control solution: a liquid made to test whether the meter and strips are working together the way the manufacturer expects. A control-solution result does not tell you your blood sugar; it tells you whether the meter system is behaving normally. That is why it is useful when a result seems implausible, especially if the meter has been stored in a car, a bathroom cabinet, or anywhere else with temperature swings.
Another issue is that not every unexpected value is caused by the meter itself. Food residue, lotion, fruit, sugar, alcohol that has not dried, or a tiny sample can all affect the strip’s chemistry. Temperature matters too. Many meters and strips are designed for a limited operating range, and a cold strip or a very hot meter can behave differently from one kept at room conditions. The American Diabetes Association notes that home meters are useful, but technique and strip handling affect results, so a reader who wants a single answer usually wants the wrong thing; the better question is which part of the testing chain changed. ADA and NIH MedlinePlus both emphasize correct use.
The biggest mistake is assuming “off” means “broken.” Sometimes it means the test was done under slightly wrong conditions, and a repeat test under cleaner conditions is the first useful check. In practical terms, a repeat with a fresh strip often answers the question faster than guessing.
How do I check if my meter is accurate?
A meter is usually checked by repeating the test carefully, then using control solution if the result still does not make sense. Start with the basics and work in a fixed order so you do not chase noise. Because this is a gestational diabetes glucose meter check, the goal is to verify the device before changing your plan.
- Wash and dry both hands with soap and water. Use plain soap, rinse well, and dry completely before touching the strip or puncture site. Verify that the fingertip is free of food, lotion, sanitizer, or sugar residue. If the hands are still damp or sticky, the next reading can be artificially altered.
- Check the test strip date and storage. Look at the expiration date on the strip vial or packet and confirm the lid was closed tightly. Verify the strips were stored as the package says, usually away from heat, humidity, and direct sunlight. If the vial sat open or the strips were expired, the result may not be trustworthy.
- Inspect the meter display and strip insertion. Make sure the meter turns on normally, the strip is fully seated, and the code setting matches the device’s required method if your model still uses coding. Verify that no warning symbol appears. If the meter gives an error code, do not assume the blood sugar is the problem; follow the device instructions and, if the issue continues, consult the meter manufacturer or a clinician.
- Prepare a fresh fingerstick sample. Use the lancet on the side of the fingertip, not the center, and aim for a full drop rather than a smeared trace. Verify that the sample fills the strip as designed. If you have to squeeze hard, the sample may be diluted with tissue fluid and the result can be less reliable.
- Repeat the reading once with a new strip. Use a new strip from the same vial or packet and retest immediately. Verify whether the second number is close enough to the first to make sense as a repeat measurement. If the second value is wildly different, suspect strip, sample, or technique before assuming a body change.
- Use control solution if the result still seems wrong. Apply control solution exactly as the meter instructions describe, with the correct strip type and the control range printed on the vial. Verify that the control result falls within that printed range. If it does not, the meter-and-strip system needs attention, not guesswork; consult a clinician or the device instructions before acting on the number.
- Check temperature and storage conditions. Ask whether the meter, strips, or control solution were left in a hot car, near a window, or in a very cold room. Verify that they were near room temperature before testing. If the equipment was too hot or too cold, let it return to the recommended range and repeat the test.
- Compare the reading only if a clinician has arranged a reference check. If a blood draw or clinic check is available, the comparison should happen close in time to the fingerstick, not hours later. Verify that both samples are taken under the same general conditions. If timing is far apart, the numbers may differ for a real physiological reason rather than meter error.
A practical sign that something is wrong is not just a number that seems high or low; it is a pattern of inconsistency. One odd result can happen. Two or three odd results in a row, using a fresh strip and clean hands, are more useful evidence that the system needs a closer look. On the other hand, a control-solution result inside the printed range argues that the meter is probably functioning as designed, even if one blood sample did not look right.
What usually causes the strange reading?
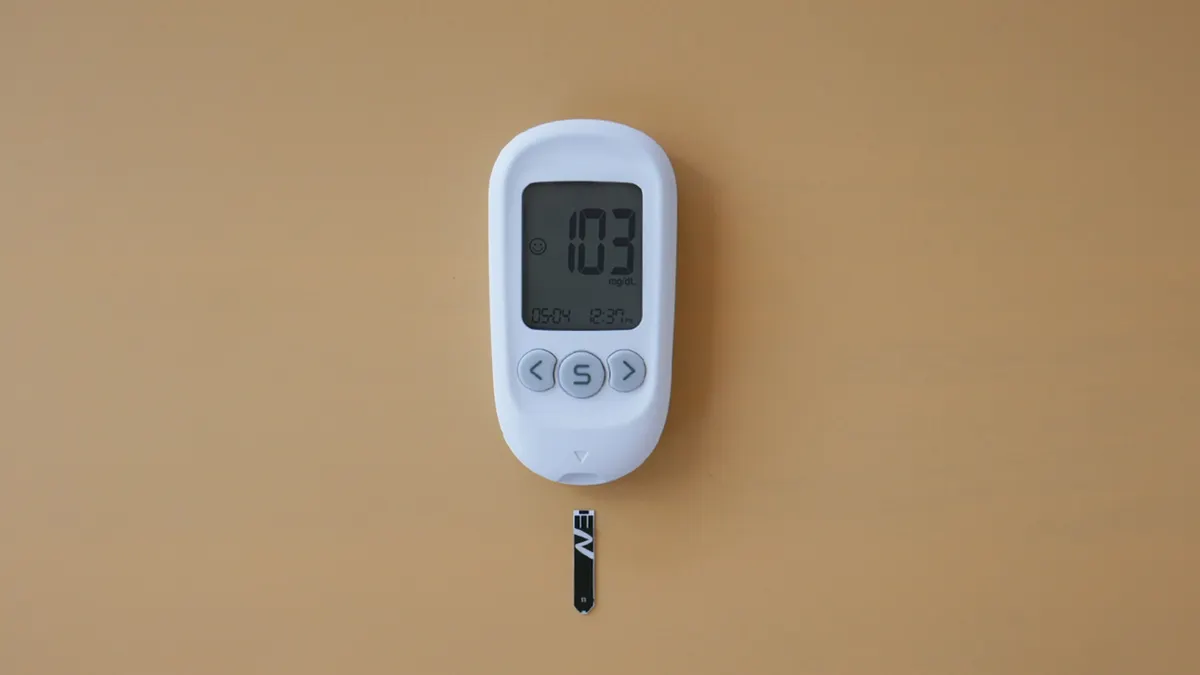
The usual cause is a bad testing condition, not a dramatic meter failure. That is especially true when the number changes a lot after a repeat test a minute later.
Expired or poorly stored test strips are a common culprit. Strips are chemical devices, and humidity or heat can degrade them. A vial that has been left open on a counter or carried in a diaper bag through warm weather can give trouble even when it still “looks fine.”
Dirty hands are another classic problem. A tiny amount of juice, cereal, fruit, or lotion can matter. An alcohol wipe can help only if it is used correctly and allowed to dry fully. Wet alcohol on the skin can interfere with the sample, and so can testing before the wipe has evaporated.
Too small a blood sample can also lead to trouble. Many meters need a specific fill pattern on the strip. If the sample is dragged, smeared, or half-filled, the reading may be erratic. Excess squeezing can introduce tissue fluid and change the sample enough to matter.
Temperature and storage matter more than many people expect. A meter that has been left in a bathroom with steam, or in a purse pocket during a very hot afternoon, may not behave consistently. The same is true if control solution has been stored outside its recommended range. A meter can be technically “on” and still not be in good testing conditions.
There is also the plain human factor: a strip inserted upside down, a nearly empty lancet device, or a rushed test after a meal can all make the result look suspicious when the real problem is setup. In that sense, the meter is often warning you about process, not physiology.
When should I repeat the test, and when should I stop trusting it?
A repeat test makes sense when the number is unexpected, the sample was messy, or the strip handling was questionable. It is not a way to endlessly negotiate with a reading you do not like.
Hands were not washed first: sugar, lotion, or food residue may have changed the sample — wash, dry, and retest with a new strip.
The strip was expired or left open: the chemistry may no longer be reliable — stop using that strip supply and check a fresh vial or packet.
The meter or strips were exposed to heat or cold outside the package guidance: temperature may have altered performance — let everything return to the recommended range before repeating.
The repeat reading is still wildly different from the first reading: the system may have a technique, strip, or device problem — use control solution and contact a clinician or the meter manufacturer’s help line if you have one.
The meter shows an error code or warning symbol: the device may be telling you not to trust the number — follow the device instructions and consult a qualified professional if the warning does not clear.
The reading seems impossible and you feel unwell: symptoms matter as much as the number in a high-stakes setting — seek qualified medical advice promptly instead of trying to self-debug for long.
A good stopping point is when the repeated test is done with a fresh strip, clean hands, and normal storage conditions, and the result is still confusing. At that point, more fingersticks without a plan often add anxiety without adding clarity. A clinician can help decide whether the issue is the meter system, the sample timing, or something else about the testing pattern.
The mistakes people actually make, and what they cost
The most common mistake is testing straight after touching food, lotion, or sanitizer. The cost is a reading that reflects the residue on the fingertip, not just blood. The fix is simple: wash with soap and water, dry fully, and start again.
A second mistake is ignoring the test strip expiration date. The cost is chemical drift that can show up as inconsistent or implausible numbers. The correct alternative is to keep strips in their original container, close the lid quickly, and replace expired strips instead of trying to “use them up.”
A third mistake is using control solution as though it were blood or skipping it entirely when the meter seems off. Control solution is not a treatment step; it is a system check. The alternative is to use it when the meter result does not fit the situation, especially after storage problems or repeated odd readings, and to consult a clinician if the control result stays outside the printed range.
A fourth mistake is squeezing the finger hard to get enough blood. The cost is dilution with tissue fluid and a sample that is less representative. A better approach is to warm the hand gently, let the arm hang down briefly, and use a fresh lancet so the drop forms more easily.
A fifth mistake is assuming all odd readings mean the meter is bad and all repeated readings mean the body has changed. Both assumptions can be wrong. Sometimes the whole problem is a cold strip, a rushed sample, or a partially filled strip. Sometimes the reading is a clue that deserves clinical review. The reliable move is to correct the testing conditions first and then decide what remains unexplained.
What if the usual check still does not explain it?
The usual check may still fail when the equipment is old, the storage history is unknown, or the reading keeps disagreeing with the way you feel. That is the point at which a clinician’s review becomes more useful than another round of guessing.
One edge case is a meter used in a place with wide temperature swings, such as a car, an outdoor bag, or a bathroom near a shower. In that setting, the meter and strips should be brought back to the recommended room conditions before retesting. If the problem disappears, the environment was probably the issue.
Another edge case is a sample taken after heavy hand sweating or after using hand sanitizer that has not dried. Here, the fix is not “test harder”; it is to clean and dry the hands properly and use a fresh strip. A wet fingertip can contaminate the chemistry.
A third edge case is a result that seems plausible in one context and absurd in another, such as a sudden jump after a meal versus a bizarre number when fasting. This guide does not cover target ranges, but timing matters. If the meter seems “wrong” only at one repeated test time, the issue may be method, not the meter.
A fourth edge case is pregnancy care with more than one device in use, such as a home meter and a clinic meter. Differences between devices can happen. A single comparison is not enough to label one device wrong unless the comparison was done close in time and under similar conditions.
When the standard approach does not settle the question, the next step is not to keep rechecking indefinitely. It is to bring the meter, strips, and control solution to the appointment or call the diabetes care team and describe exactly what happened: strip age, storage conditions, whether hands were washed, whether control solution was used, and how far apart the repeat tests were. That kind of detail helps a clinician tell a setup problem from a real change in blood sugar.
Key takeaways
- A strange reading often starts with the strip, the fingertip, or the room conditions, not the meter body itself.
- Control solution is the cleanest way to check the meter-and-strip system when a result looks wrong.
- Expired strips, dirty hands, and temperature swings are the most practical causes to rule out first.
- Repeating the test only helps if the second test is done with a new strip and cleaner technique.
- If the number still makes no sense, or the meter shows an error, stop treating it as a normal result and get qualified help.
Why does a glucose meter give a strange reading?
A glucose meter can give a strange reading when the strip chemistry, the blood sample, or the storage conditions are off. In Gestational Diabetes and the Glucose Meter Calibration Check: When Results Seem Off, the practical answer is the same: check the strip, the hand, and the meter environment before assuming the device has failed.
Drafted with AI; not yet reviewed by a person.