Last updated: November 19, 2026
Key Takeaways
- Replace damaged or expired equipment, and stop using strips after storage failure can affect accuracy.
- Many “bad readings” come from simple handling problems, not broken equipment.
- Replace the meter or strips in a controlled way: confirm what failed, swap the suspect part, and verify the new setup before pregnancy monitoring.
- The meter is more likely the problem when errors persist across fresh strips, new batteries, and clean technique.
Quick Answer
If you are asking when to replace a glucose meter or test strips during pregnancy, the short answer is: replace them as soon as damage, expiration, or failed control checks make readings unreliable. If the manual lists a temperature or humidity limit and your strips were stored outside it, consult a pharmacist, clinician, or diabetes educator before using them, and follow the manufacturer’s instructions and package insert.
A glucose meter or test strips should be replaced during pregnancy when the device is damaged, the strips are expired or poorly stored, or the readings no longer match the meter’s expected behavior. Because pregnancy often involves tighter glucose monitoring, any doubt about accuracy deserves a prompt check with a qualified clinician or diabetes educator.
The practical question is not “How old is the device?” alone. It is “Can I still trust this meter and these strips enough to make decisions?” That matters more in pregnancy, when a wrong number can send the rest of the day off track. For broader context on monitoring during pregnancy, this guide sits alongside the hub on gestational diabetes glucose monitoring and targets.
Who this advice is for
This applies to people using a home glucose meter and test strips during pregnancy, including those monitoring gestational diabetes or preexisting diabetes under a care plan. It assumes the reader already has a prescribed meter, the matching strips, lancets, and a way to clean hands before testing.
It does not cover how to test, what the numbers mean, or target ranges. It also does not replace individual instructions from an obstetric clinician, endocrinologist, diabetes educator, or the manufacturer instructions for that exact meter model. If your care team has given you a specific device, strip lot, or testing schedule, that takes priority over general advice.
One practical point matters right away: if the meter is dropped, wet, contaminated, or the strips have passed the printed expiration date, do not assume the next reading is reliable. In pregnancy, that is enough reason to check the device before trusting it again. Manufacturer instructions are the first document to read, because replacement rules vary by model and strip chemistry.
When should I replace my glucose meter or strips?
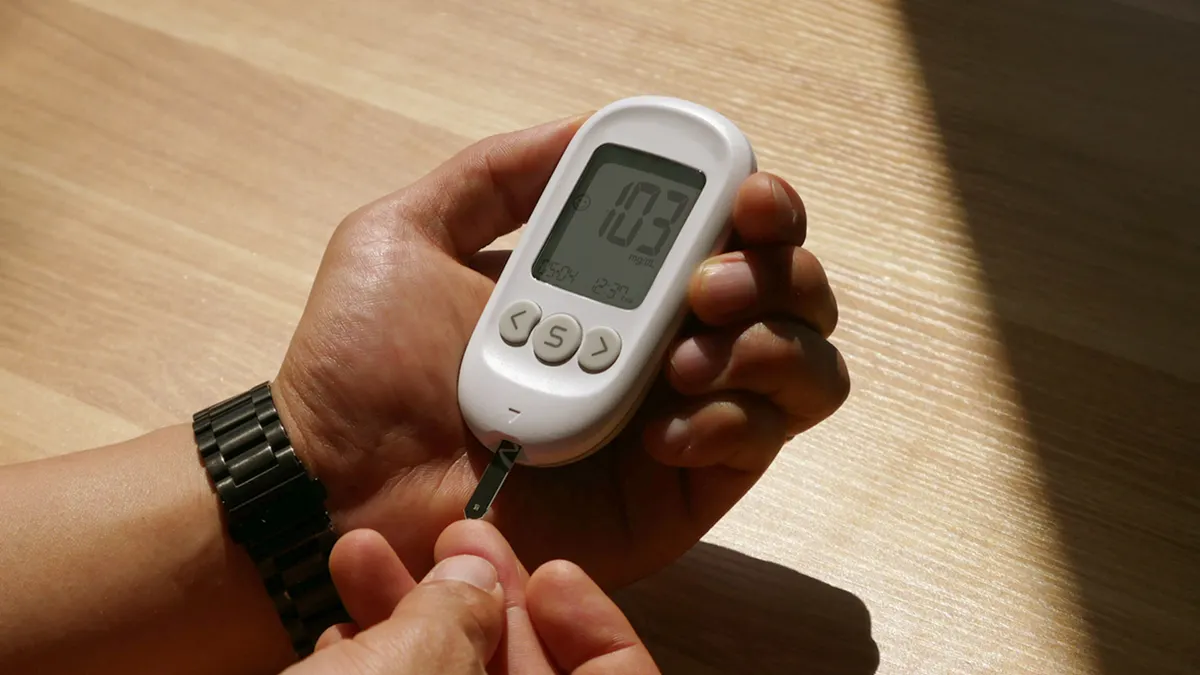
Replace them when the device or strips show signs of damage, age, or storage failure that can affect accuracy. In plain terms, a glucose meter is the handheld reader, and test strips are the chemical sensors; both can fail even if they still turn on.
The manufacturer instructions are the main standard here, and the meter manual usually gives the exact replacement triggers. A common reason to replace strips is expiration. The printed expiration date is the last date the unopened vial is intended to remain usable if stored correctly. Once strips are expired, the chemistry can drift, especially after heat, humidity, or repeated opening of the container.
Use the meter’s built-in check features if it has them. Many devices have a control solution test, which is a manufactured liquid with a known glucose range used to see whether the meter-strip pair is behaving as expected. If the control result falls outside the printed range on the strip vial or package insert, the meter, the strips, or both may need replacement.
Pregnancy makes this more urgent, not because the device itself becomes different, but because there is less room to ignore uncertainty. If a reading looks off, repeat the test with a fresh strip, clean hands, and, if available, a second meter or control solution. If the problem continues, replacement may be the safest next step.
What to check before you trust a reading
Check the strip date, the storage conditions, the meter condition, and the way the sample was collected before you decide the meter has failed. Many “bad readings” come from simple handling problems, not broken equipment.
Start with the strips. Look for the expiration date on the vial or box, and check whether the container was kept closed tightly, away from bathrooms, car glove boxes, sunny windowsills, or other places with heat and moisture. Strip chemistry is sensitive; a vial left open on a counter for days is not the same as one stored at room temperature in a dry drawer.
Then inspect the meter. A cracked screen or a loose battery cover can point to trouble, and corrosion in the battery compartment can affect performance. A meter that was dropped from countertop height or sat in water should not be assumed accurate just because it powers on.
Next, think about the sample. Squeezing the finger hard, using dirty hands, or touching food residue can distort the result. If the reading surprises you, wash and dry your hands, use a new strip, and repeat. If your device uses a specific code chip, calibration step, or pairing procedure, follow the manufacturer instructions exactly; one missed step can make the result unreliable.
A normal-looking number still may not be enough if the strip lot is expired or the meter has been exposed to temperature swings. In that situation, the safer move is to replace the suspect item rather than keep rechecking the same setup.
How to replace a glucose meter or test strips, step by step
Replace the meter or strips in a controlled way: confirm what failed, swap the suspect part, and verify the new setup before using it for pregnancy monitoring. The goal is not just a new box; it is a result you can trust.
- Read the current meter manual and strip insert. Confirm the exact model name, strip compatibility, expiration date, storage range, and any control-solution instructions. If the manual lists a temperature or humidity limit and your strips were stored outside it, treat them as suspect. If the model name on the vial does not match the meter, stop there.
- Inspect the strips before opening a new vial. Check the printed expiration date and the package seal. If the seal is broken, the box is crushed, or the vial has been left uncapped, do not rely on the strips. A fresh vial with intact packaging is the basic starting point.
- Check the meter body for damage. Look for cracks, liquid exposure, rust, a dim display, or debris in the strip port. If the meter has been dropped onto tile or used in a humid bathroom cabinet for weeks, inspect more carefully. Any visible damage is a replacement trigger, not a cosmetic issue.
- Install a new battery if the meter allows it and the display is weak. Use the battery type listed in the manual, often a coin cell or AAA/CR-type battery depending on the model. If the display flickers, blanks out, or resets date and time repeatedly, the meter may no longer be dependable.
- Run a control solution test if the meter supports it. Use the exact control solution for that strip brand, not a random liquid. Verify the result lands within the printed control range. If it falls outside that range on a fresh strip, the issue may be the meter, the strip lot, or storage conditions.
- Test with a fresh strip and clean hands. Wash with soap and water, dry thoroughly, and use one new strip from the new vial. Verify the strip is fully inserted and the meter recognizes it. If the meter reports an error code or gives an implausible result, repeat once with another fresh strip.
- Compare the reading pattern, not just one number. If two repeat tests, done minutes apart with fresh strips, give very different results, the setup is unstable. A result that changes sharply without a clear reason is a warning sign that the meter or strips need replacement or professional review.
- Record the lot number and date opened. Many strip vials have a recommended open-vial window in the package insert, commonly measured in weeks or months, depending on brand. Write the opening date on the vial so it is not guessed later. If you cannot find the lot number or opening date, replacement may be simpler than troubleshooting blind.
This process is meant to separate a device problem from a sampling problem. If the new strip lot behaves normally and the old one did not, the strips were the likely problem. If the control solution still fails on a new lot, the meter itself may need replacement or service.
What signs mean the meter itself may be the problem?
The meter is more likely the problem when errors persist across fresh strips, new batteries, and clean technique. That pattern points away from user error and toward hardware failure.
A meter that repeatedly shows error codes, does not recognize strips, powers off mid-test, or shows a damaged strip port is not dependable. A screen that is hard to read, intermittently blank, or shows corrupted digits also raises concern. If the date and time reset on their own, the internal battery or memory may be failing.
Physical exposure matters too. A meter that has been submerged, left in a hot car, frozen, or dropped hard can fail internally even if the case looks intact. Heat and moisture are especially troublesome because they can affect electronics and the strip interface at the same time.
One practical rule is simple: if the meter cannot pass its own check features, it should not continue as the only source of information. A replacement is usually the safer route than guessing. This is especially true in pregnancy, when a misleading value can lead to unnecessary worry or, just as bad, false reassurance.
When should I stop using the current strips or meter?
Stop using the current setup when the problem persists after one careful retest, a new strip, and a fresh battery if needed. At that point, the issue is no longer a one-off inconvenience; it is a reliability problem.
Expired test strips: The strip chemistry may no longer behave as intended — Replace the vial and, if you need a reading before the new strips arrive, contact the pharmacy or your clinician for a bridge plan.
Water damage, heat damage, or obvious physical breakage: The meter may not read correctly even if it powers on — Stop using it and ask the pharmacy or manufacturer about a replacement.
Repeated error codes with fresh strips: The meter-strip pair may be incompatible or failing — Verify the model and lot number, then replace the suspect item.
Control solution outside the printed range: The device is not passing its own basic check — Do not rely on it for pregnancy monitoring until the issue is resolved.
Strip port contamination or corrosion: Electrical contact may be unreliable — Clean only if the manual allows it; otherwise replace the meter.
Strong mismatch between expected and repeated readings: The setup may be unstable — Use a backup meter if your clinician has provided one, or seek replacement guidance promptly.
If none of those apply, the meter may still be usable, but only after the suspicious conditions are corrected. A pharmacy can often help identify the correct strip box, but it cannot validate a broken meter.
The mistakes that cause the most trouble
The most common mistakes are small, but the consequences can be large enough to mislead pregnancy monitoring by days, not minutes.
Using the wrong strip brand or lot is a frequent one. A strip that looks similar may not fit the meter’s chemistry. The consequence is a false reading or an error code. The fix is to match the exact meter model and strip name on the box and manual.
Storing strips in a humid room is another. Bathrooms and kitchens can expose strips to moisture and temperature swings. The consequence is degraded chemistry, even before the expiration date. The fix is to keep the vial capped tightly in a dry place at the temperature range listed by the manufacturer.
Ignoring the first odd reading is a third. If one result looks wildly different from nearby readings, it can be tempting to assume it is a fluke. The consequence is continued use of a failing strip lot or meter. The fix is to repeat the test with a fresh strip after washing and drying hands.
Skipping the control solution check can also waste time. Without it, you do not know whether the device is the problem or the sample is. The consequence is confusion and delayed replacement. The fix is to use control solution when the manual recommends it, especially after a drop, battery change, or new strip vial.
Finally, holding on to an old meter “just in case” can backfire if the device has been unused for months. Batteries corrode, screens fade, and strip compatibility changes. The safer alternative is to keep a current backup only if it is maintained with matching, in-date strips.
When the standard advice changes
Standard guidance changes when the strips, meter, or storage conditions are unusual, or when you are using a secondhand device. A single rule does not fit every pregnancy or every model.
If you have a backup meter, compare only like with like: same brand, same strip type, same control solution. A different brand can have a different acceptable range, so a mismatch does not automatically prove failure. The relevant figure here is the control range printed for that exact lot, not a generic number from the internet.
If the meter is older and replacement strips are hard to find, the pharmacy may need to special-order them. That is a supply problem, not a reason to stretch expired strips. Using strips past the printed date is a trade-off against reliability that becomes hard to justify during pregnancy.
If the meter was issued through a clinic and the manufacturer has updated the model, older strips may no longer be stocked widely. Check the exact model number, not just the product family name. A small difference in labeling can mean a completely different strip chemistry.
If the meter has been exposed to extreme temperatures, allow it to return to the manufacturer’s recommended room-temperature range before testing. Do not rely on a reading taken immediately after leaving the device in a cold car or hot bag. If the device still acts oddly after warming to room temperature, replacement is the better path.
When to ask for a replacement
Ask for a replacement when the device can no longer be trusted to give repeatable results or when you cannot verify the strip’s condition. That is the practical threshold.
A pharmacy can help confirm the correct strip product, check whether a refill is available, and sometimes replace a defective box. The manufacturer can confirm whether a meter model is under support, whether a battery issue is expected, and whether there is a return or replacement process. Your clinician can help decide whether a backup meter is needed while the problem is sorted out.
Ask before you run out of usable strips or before a pattern of questionable readings becomes stressful. If you are several days from the next prenatal visit and the device is already acting up, do not wait for the routine appointment to mention it. Bring the meter, the strip box, and the lot number if you still have them.
Drafted with AI; not yet reviewed by a person.