Last updated: November 19, 2026
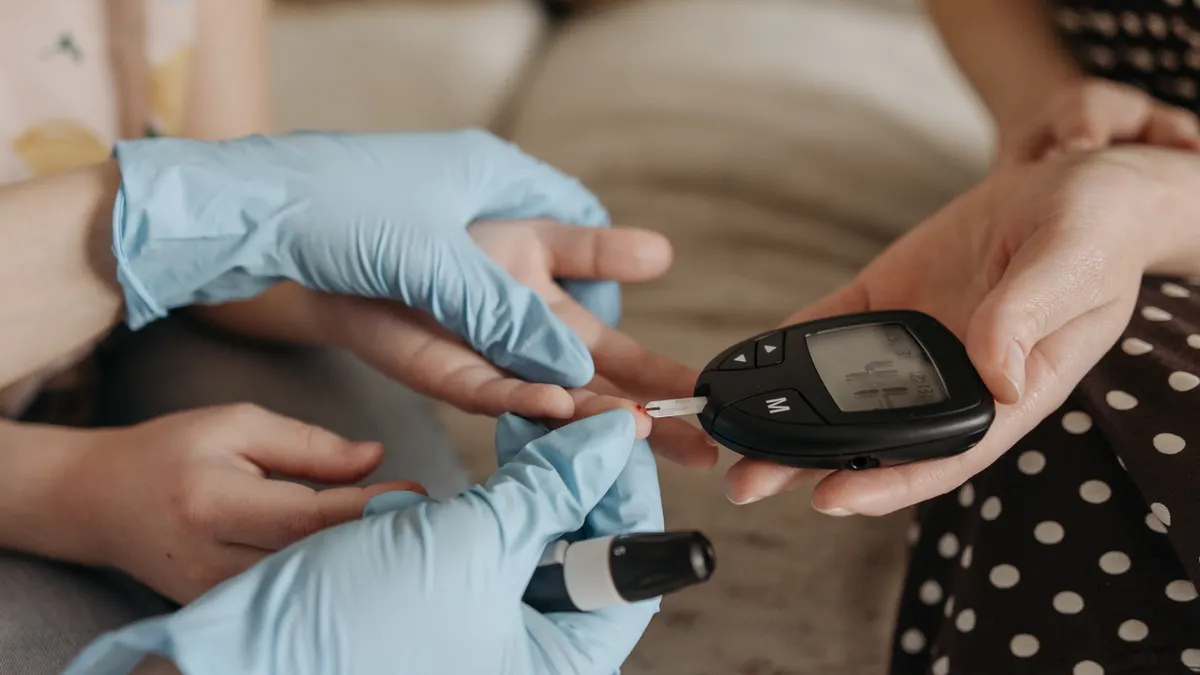
Quick answer: To read gestational diabetes glucose meter results correctly, check the displayed number, the unit, the date and time, and any symbol before you act; if any of those are unclear, pause and confirm the setup with a qualified clinician. A glucose meter helps you see the number on the digital display after a finger-stick blood glucose test, but the number only makes sense if you know the meter symbols, the date and time, and when an error message means to pause and check the setup. If you are pregnant and using a blood glucose meter for gestational diabetes, speak with a qualified clinician about your own targets and next steps.
Who this is for, and what you need first
This is for someone who already has a glucose meter, a test strip, a lancing device, and a finger-stick sample, and wants to know how to read the result on the screen without guessing. It assumes the meter is turned on, the strip is inserted, and you are looking at the display after the sample has been applied.
It is also for the person who keeps seeing a symbol, a memory number, or an error code and wants to know whether the meter is telling them “valid result” or “stop and recheck.” It is not for choosing a device, comparing brands, or learning how often to test; those are separate questions.
Because this is pregnancy care, the safest rule is to treat the meter number as one piece of the picture and to discuss your own pattern of readings and your individual targets with a qualified professional. Glucose meter results are usually interpreted against a plan that is specific to the person, not against a single universal cutoff.
The rest of this guide focuses on the device output itself: the digital display, display symbols, memory function, error messages, date and time settings, and what a result usually means when it appears on screen. A deeper discussion of logging trends belongs with gestational diabetes self-monitoring and data tracking, not here.
How do I read the number on a glucose meter?
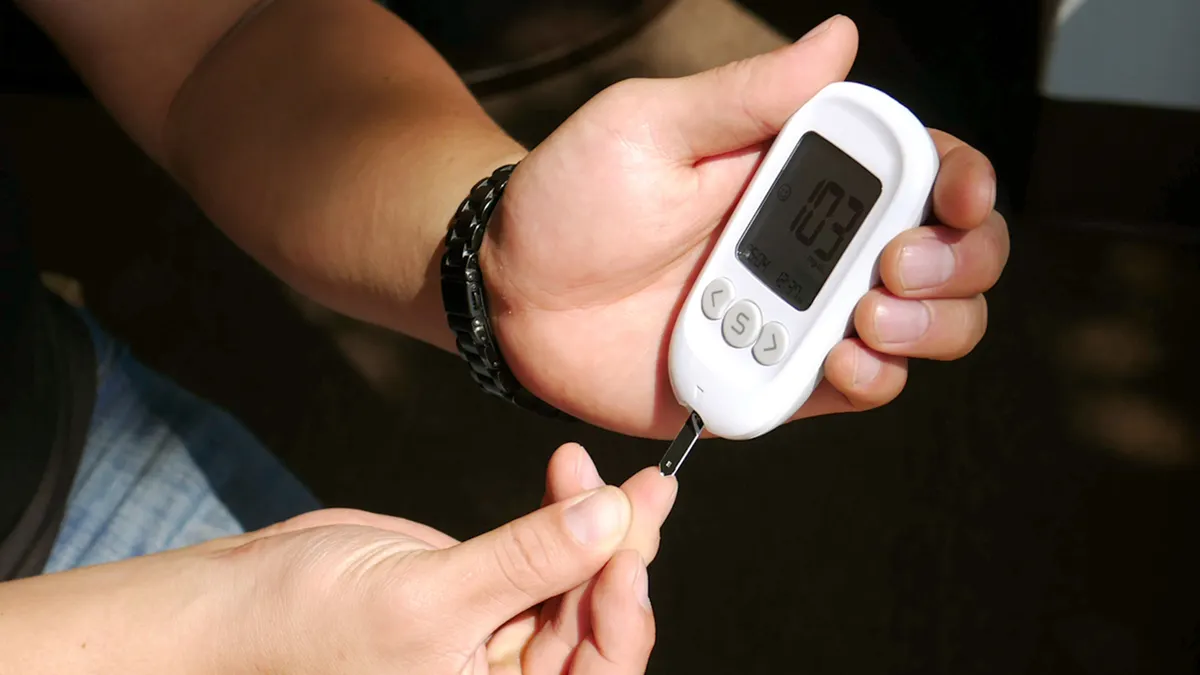
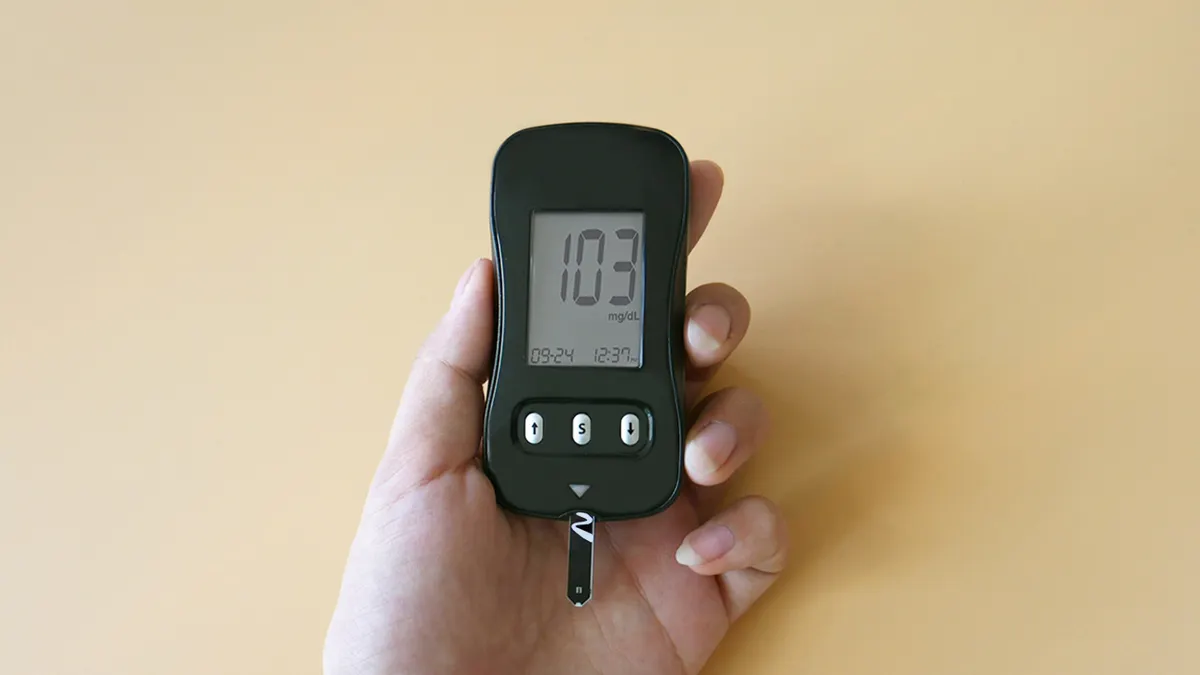
You read it by confirming that the meter shows a plain numeric blood glucose result, not an error, and by checking the units and the time stamp before you decide anything about the reading. A result that appears after a valid strip test is usually the large number in the center of the screen, often in mg/dL or mmol/L depending on the device.
-
Look for the main blood glucose number on the digital display. The screen should show one clear numeric result after the sample is accepted, such as a number with no blinking question mark or error code. Verify that the display is not showing a control solution mode, memory mode, or a setup screen. If you do not see a standalone result, the meter is not presenting a usable reading yet.
-
Check the unit printed or shown on the screen. Many meters display either mg/dL or mmol/L, and those are not interchangeable. Verify that the unit matches the device manual and your care plan. If the unit looks unfamiliar or absent, stop and inspect the meter settings before treating the number as meaningful, and if you still cannot confirm it, consult the manual or a professional.
For meter setup and result display basics, see the CDC’s guidance on blood glucose meters and the NIDDK’s blood glucose testing overview. -
Confirm the date and time stamp. A valid reading should be stored with the correct date and time, because later review depends on when the sample was taken. Verify that the clock is close to real time, especially after battery changes or daylight saving time. If the stamp is wrong by hours or days, the result may still be real, but its place in the log will be misleading.
-
Read the result only after the meter finishes processing. Most meters give a stable number within seconds, but the display should stop changing before you write it down or store it. Verify that the number is no longer flashing and that no strip or sample icon is still active. If the number is still counting or the meter is asking for more blood, the test is incomplete.
-
Check whether the meter has attached symbols or flags. Some devices add arrows, a low-battery icon, a strip symbol, or a result flag. Verify whether any symbol changes the meaning of the number. A warning icon does not automatically invalidate the reading, but it can mean the meter wants attention before the next test.
-
Compare the result to the correct record, not to memory. Write it in a logbook or app with the meal time, fasting status, or other note your clinician uses. Verify that you recorded the number exactly as shown, with the right date and time. If the note and the meter disagree, the paper record becomes unreliable.
-
If the meter shows an unexpected result, repeat with a fresh strip. Use a new test strip and a fresh fingertip sample rather than trying to “fix” the old one. Verify that the second reading is similar enough to be believable for that meter and sample type. If the second result is very different, the problem may be with technique, strip handling, or the device itself.
-
Use a control solution when the meter seems questionable. Control solution is a test liquid made to check whether the meter and strips are working together. Verify the result against the range printed on the strip vial, not against your blood glucose pattern. If the control result is outside that range, the system is not behaving normally.
This step-by-step reading process is the same idea across most blood glucose meters, even though the buttons and icons differ by model. The value of the number is in context: symbol, unit, time stamp, and whether the strip test completed cleanly.
What do the symbols on a glucose meter mean?
They usually mean status, not diagnosis, and the exact icon depends on the model, so the manual matters here. A symbol may indicate a low battery, a memory record, a test-strip issue, a meal marker, a sound setting, or a result flag; the same shape does not mean the same thing on every meter.
A plain example is the memory function. When the meter is in memory mode, it may show a past reading rather than the current one, often with a small book, clock, or “MEM” label. If you are trying to read today’s result and the screen is showing a stored value from yesterday, the symbol matters more than the number.
Another common symbol is the test-strip icon. That can mean the strip is inserted correctly and the meter is ready, or it can mean the strip is not seated properly, depending on the device. A strip symbol that stays on after the sample should have been read is a clue that the test did not complete.
Some meters also display a control solution marker. That is important because control solution is for checking the meter-strip system, not for measuring blood. If the display shows a control marker, do not file that reading with your blood glucose results.
A date-and-time symbol may appear when the battery has been removed, the clock has reset, or the meter has not been set. In that state, the meter can still produce a result, but the record may be out of order. A device that cannot place readings correctly in time is harder to use for gestational diabetes self-monitoring.
The safest rule is to treat a symbol as a prompt to read the manual for that exact glucose meter model. If the icon is unfamiliar, do not infer its meaning from another brand. The same shape can mean very different things across devices, and if the meaning still is not clear, consult a clinician or the device support line.
For reliable background on meter symbols and setup checks, see FDA guidance on home glucose meters and the CDC.
Is this result normal for gestational diabetes?
A number is only meaningful when compared with the target range given by the clinician managing the pregnancy. There is no single universal “normal” meter result for every person with gestational diabetes, and the interpretation changes with timing, such as fasting or after meals.
That is why the reading on the digital display should be viewed as data, not a verdict. A single result can be influenced by meal timing, hand contamination, strip problems, or meter setup. One number can be useful, but a pattern is usually more informative than a single finger-stick result. The same meter reading can matter differently at fasting, 1 hour, or 2 hours after a meal, depending on the plan.
If a result seems unexpected, the first question is often whether the test itself was valid. Was the strip within date, the meter set correctly, the sample large enough, and the hands clean and dry? A technically valid test can still be outside the intended range, but a flawed test should be treated cautiously and, if needed, reviewed with a professional.
For blood glucose testing technique and result interpretation basics, the NIDDK and Mayo Clinic both recommend checking the sample, timing, and device setup.
The result also needs the right context in the log. A post-meal reading taken 10 minutes after eating does not mean the same thing as a reading taken at the time your care plan specifies, and a fasting reading has a different meaning from a random reading. The meter cannot tell the difference for you; the time stamp and your note do.
If you are unsure how to interpret a specific value, use the written plan from the clinician who is following the pregnancy. A glucose meter gives a measurement; interpretation depends on the plan attached to that measurement. That distinction matters more in gestational diabetes than in casual home testing.
When should I stop and recheck instead of trusting the screen?
You should stop and recheck when the meter is telling you that the reading may not be valid, because the screen often gives enough clues to avoid a bad interpretation. The main job here is not to react to every number, but to recognize the situations where the number should not be used as-is.
An error message appears: The meter is telling you it could not complete the test or cannot trust the setup — Use a new strip, follow the manual, and if the error repeats, check the device or ask for help.
The control solution result is outside the printed range: The meter-strip system may not be performing properly — Do not rely on blood results until the system passes a control check.
The date and time are wrong: The reading may be real, but the record is misfiled — Correct the clock before using the meter for ongoing tracking.
The memory function opens instead of a live result: You are looking at a stored reading, not a current one — Exit memory mode and return to the test screen.
The strip symbol stays on or the screen asks for more blood: The sample may have been insufficient or the strip may not have accepted it — Repeat with a fresh strip and a fresh sample.
The meter shows low battery or a setup warning: The device may still work, but the reading can be unreliable to record and compare — Replace or recharge the battery and verify normal startup before the next test.
A result should also be questioned if it conflicts with obvious setup problems, such as an unwashed fingertip, a strip that was exposed to humidity, or a meter that has lost its clock settings. In those cases, the screen is not the only issue; the whole test process may need a fresh start, and if uncertainty remains, seek professional advice.
What mistakes change the reading, not just the number?
The biggest mistake is reading the result without checking whether the test itself was valid. A meter can display a number in seconds, but that number can still be misleading if the strip was mishandled, the sample was contaminated, or the display was showing memory mode.
One common error is confusing a stored reading with a live reading. That happens when the memory function is active and the person assumes the screen is current. The consequence is simple but serious: a person may think they are seeing today’s blood glucose when they are actually looking at a previous test.
Another mistake is ignoring the date and time settings. A meter with the wrong clock can make a morning result look like an evening result, which matters when a care plan distinguishes fasting from post-meal timing. The correct alternative is to check the clock after battery changes and before relying on a new log.
A third error is treating any icon as harmless decoration. On some meters, a symbol is just a status indicator; on others, it points to a setup problem. The safe alternative is to read the manual for that exact model rather than guessing from another device or from a memory of a different brand, and if the symbol still is not clear, consult a professional.
A fourth mistake is reusing a strip after the first attempt failed. Test strips are single-use items, and a partially used strip can produce a bad or missing result. The correct alternative is a fresh strip and a clean sample.
A fifth mistake is comparing one reading to a target without context. A single number can look “good” or “bad” while still being mistimed or invalid. The better alternative is to pair the value with the time, the meal note, and the meter’s own status symbols before deciding what it means.
What if the meter still looks wrong after I check everything?
The meter may need a device-level check, not another guess, when the screen keeps showing the same problem after fresh strips, clean hands, and the correct settings. If that happens, the issue is probably not the interpretation step alone.
A practical edge case is a new battery or a clock reset. After battery changes, some meters lose date and time settings even though they still turn on and give results. The reading itself may be present, but the log becomes harder to trust until the settings are fixed.
Another edge case is a control-solution check that fails while the blood test seems normal. That can happen when the meter-strip system is unstable, and the blood reading should not be assumed correct just because it produced a number. In that situation, the control result is the warning that matters.
A third edge case is a device with a damaged display. If digits are missing, flickering, or partially visible, reading the result becomes unsafe because the number itself may be misread. A screen that cannot show 8s, 0s, or decimal points cleanly is not suitable for careful interpretation.
A fourth edge case is a result that conflicts with the test strip vial instructions. Some strip containers specify a required temperature range, storage condition, or open-vial limit. If those instructions were not followed, the reading may not be trustworthy even if the screen looks normal.
In those situations, the right move is not to force an interpretation. It is to verify the setup, repeat with a new strip, and use the clinician’s plan for what to do with uncertain data.
Key takeaways
- The number on a glucose meter matters only when the display, the strip, the unit, and the time stamp all make sense together.
- A memory symbol, error code, or setup icon can change what the screen means more than the number itself.
- Control solution is for checking the meter and strips, not for judging a blood glucose result.
- In gestational diabetes, the right interpretation depends on the care plan attached to the reading, not on a universal cutoff.
- If the screen looks wrong, a fresh strip and a fresh sample are better than trying to rescue the old test.
What do the symbols on a glucose meter mean?
They usually show the meter’s status, not a medical verdict.
Drafted with AI; not yet reviewed by a person.