Last updated: October 12, 2026
- Gestational diabetes diagnosis: testing process explained usually begins with screening and, if needed, shifts to a diagnostic test.
- Before any glucose-based pregnancy test, I’d want four things cleared up.
- Severe thirst with frequent urination before testing: this may point to significant hyperglycemia, not just a routine pregnancy symptom — contact a qualified professional promptly.
- Eating when the test requires fasting.
Quick Answer: Most gestational diabetes diagnosis happens with a glucose screening test during pregnancy — usually at 24 to 28 weeks — and any abnormal screen is then checked with a diagnostic oral glucose tolerance test, or OGTT. Unsure which one you’ve been scheduled for? Ask your prenatal clinician before you go. Gestational diabetes diagnosis: testing process explained.
Key Facts
- Most routine screening happens at 24 to 28 weeks of pregnancy.
- Some clinics use a one-step OGTT; others use a two-step screen-then-test approach.
- A screening result is not always a diagnosis; follow-up testing may still be needed.
- The exact fasting rules, drink timing, and cutoff numbers depend on the lab and protocol.
- If you have vomiting, dehydration, preexisting diabetes, or bariatric surgery, ask a clinician about a modified plan.
- The process depends on the clinic, so verify the instructions before testing.
Gestational diabetes diagnosis is usually made with blood glucose testing during pregnancy, and the exact process depends on your risk factors, symptoms, and local clinical practice. I’m not your clinician, so if testing has come up for you, talk with a qualified professional about your own situation before you decide anything about screening or interpretation. For general background, see the NIH’s overview of gestational diabetes and ACOG’s patient guidance on gestational diabetes testing. NIH ACOG
Who This Applies To — and Who Should See a Professional Instead
This piece is for a pregnant person who has been told screening for gestational diabetes mellitus, or GDM, may be coming up soon and wants to know what the process actually looks like. It also helps if you’ve already been handed a lab order and need the numbers in context. Still, if you’re asking about routine prenatal screening, the safest move is to confirm the details with a qualified professional before acting on any result.
The aim is straightforward: catch elevated blood sugar during pregnancy early enough for proper follow-up. Sounds simple. It isn’t. Gestational diabetes is not something to guess at from symptoms alone; many people feel fine and still screen positive, while others feel normal and still get diagnosed. So the test matters more than the way you feel.
This article is not for someone with severe vomiting, dehydration, chest pain, confusion, fainting, vaginal bleeding, or markedly decreased fetal movement. Those need prompt professional care. It is also not the right resource if you already have diabetes before pregnancy, because that situation is handled differently. If you have kidney disease, significant anemia, a history of bariatric surgery, or a prior bad reaction to glucose loading, the usual path may need tweaking and should be reviewed by a clinician.
What I’m answering is simple: what happens in the testing process, step by step, and what should you verify before moving ahead? So I’ll cover the common screening route, what the numbers generally mean, where things can go sideways, and when a standard test is not the right call.
The Step-by-Step Process for Gestational Diabetes Diagnosis: The Testing Process Explained (Done Correctly)
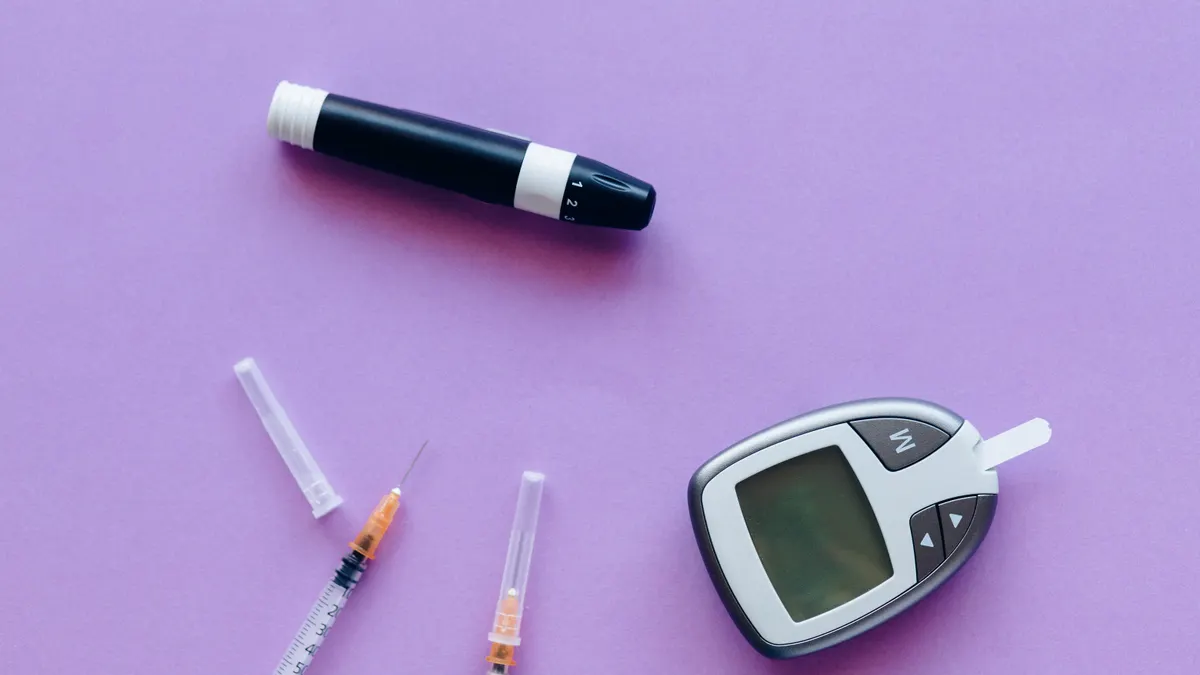
Gestational diabetes diagnosis: testing process explained usually begins with screening and, if needed, shifts to a diagnostic test. Clinics vary a bit, but the common U.S. setup is a screening test first, then a diagnostic one if the screen comes back abnormal. Some practices use a one-step method; others use a two-step method. Here’s the usual flow so the terms stop sounding like alphabet soup. For protocol details, see the CDC and NIDDK guidance. CDC NIDDK
- Confirm the timing of screening. Most screening happens in the middle of pregnancy, often between 24 and 28 weeks, unless a clinician wants earlier testing because of risk factors. Check: whether you’re being screened early, at the routine window, or after another test came back abnormal. Problem sign: doing it outside the intended window can muddy the interpretation.
- Check which method your clinic uses. With the two-step route, the first test is a glucose challenge test, often called a screening test. You drink a glucose solution and have blood drawn after a set interval, commonly 1 hour. With the one-step route, a longer oral glucose tolerance test, or OGTT, is used. Check: whether you must fast, for how long, and whether the test is screening or diagnostic. Issue sign: showing up unfed for a nonfasting screen, or eating before a fasting test, can throw the result off.
- Follow the pre-test instructions exactly. For fasting tests, the usual rule is no calories for the prescribed period before the blood draw. For nonfasting screening, you may be told not to fast. Confirm: the fasting duration, any water allowance, and whether medications should be discussed in advance. Problem sign: breaking the fasting rule can invalidate the test or force a repeat.
- Drink the glucose solution within the allowed time. The solution is standardized and tastes very sweet. In many clinics you must finish it promptly, then the clock starts from the last sip. Check: the finish time, the blood draw time, and whether you may walk around or must remain seated. Problem sign: delayed finishing or vomiting can make the test uninterpretable.
- Have blood drawn at the correct interval. Depending on the protocol, blood may be drawn 1 hour after the drink, or at fasting plus 1, 2, and sometimes 3 hours for an OGTT. These are plasma glucose measurements, meaning blood sugar measured from a laboratory sample. Confirm: the exact timepoints. Problem sign: early or late collection changes the result and may require repeating the test.
- Compare the result with the lab’s threshold system. Diagnostic cutoffs vary by protocol. A single elevated value may be enough under some one-step criteria, while other methods require more than one abnormal value. Check: which criteria your clinician is using. Problem sign: reading the number without the protocol can lead to false reassurance or unnecessary worry.
- Understand what happens after an abnormal screen. In the two-step process, a screening result is not the diagnosis. It means you usually need the diagnostic OGTT next. Confirm: whether the next test is already scheduled and what prep it requires. Problem sign: treating a screening result as final, or ignoring the follow-up test, should be reviewed promptly with a clinician, because the question remains unresolved.
- Ask how results will be communicated and documented. You should know who will explain the result, when you can expect it, and what the next clinical step is. Confirm: whether the result goes directly to your prenatal clinician or to you first. Problem sign: a result sitting unnoticed in a portal can delay care.
The practical wrinkle is that the protocol matters just as much as the number. A glucose value only means something when you know whether it came from screening, a fasting sample, or a timed OGTT. Otherwise, the math stops working fast.
Critical Checkpoints: What to Verify Before Moving Forward
Before any glucose-based pregnancy test, I’d want four things cleared up.
First, ask whether you’re being screened because it’s the routine timing or because of a specific risk factor. Risk factors may include prior gestational diabetes, a previous larger baby, obesity, or a family history of diabetes, but your clinician decides which factors matter in your case. That affects whether testing starts earlier than usual.
Second, confirm whether the test is fasting or nonfasting. Not a tiny detail. It changes what you may eat, when you can drink water, and how the result gets read. If the instructions are fuzzy, ask for them in writing.
Third, find out whether you should keep taking your usual medications. Some medicines can affect glucose readings, and pregnancy adds another layer of caution. Don’t assume a medication can be skipped or continued without guidance.
Fourth, ask how to handle nausea, vomiting, or trouble tolerating the glucose drink. If you have a history of vomiting with sweet liquids, that does not mean you fail the test; it means the clinician may need a modified plan.
A generic article often misses one awkward fact: clinics do not all use the same diagnostic pathway. One office may use the two-step screening-and-confirmation method; another may use a one-step OGTT with different thresholds. A result that looks “abnormal” on one form of testing may be normal on another. No contradiction there. It’s a protocol issue.
I’d also ask what a “positive” result means in that office. Some people think it means immediate medication. In reality, the next step may be nutrition counseling, home glucose monitoring, or a separate appointment to talk through management options. The diagnosis is only the beginning of the conversation.
Warning Signs: When to Stop and Get Help
Vomiting after the glucose drink: if you cannot keep the solution down, the test may be invalid — tell the clinic right away rather than trying to “push through.”
Fainting, severe dizziness, or confusion during the test: these can signal an unsafe reaction or another medical problem — stop the test process and get urgent medical guidance.
Severe thirst with frequent urination before testing: this may point to significant hyperglycemia, not just a routine pregnancy symptom — contact a qualified professional promptly.
Known preexisting diabetes or very high prior glucose values: this is not routine gestational screening territory — you may need a different evaluation pathway.
Recent bariatric surgery: glucose drinks can cause dumping syndrome, a rapid and unpleasant shift of fluid and sugar into the intestine — ask for a modified approach before any standard oral glucose test.
Active illness, especially with fever or dehydration: illness can distort blood sugar and make the result less useful — discuss postponing or rescheduling.
These are not reasons to self-manage around the test. They are reasons to pause and let a clinician decide whether the standard protocol is safe and meaningful for you.
The Most Common Mistakes (and Their Real Consequences)
-
Eating when the test requires fasting. Consequence: the result may come back falsely high and trigger an unnecessary repeat. Better alternative: confirm the fasting window beforehand and set a reminder.
-
Assuming the screening result is the diagnosis. Consequence: either false alarm or false reassurance, depending on the number and method. Better alternative: ask whether the first test is screening only.
-
Arriving without checking the exact timeline. Consequence: the sample may be collected too early or too late, which can make the result unreliable. Better alternative: write down the drink time and draw time before you start.
-
Drinking coffee, juice, or a snack during a fasting test. Consequence: calories can change the reading enough to invalidate it. Better alternative: use only what the clinic permits, usually plain water if allowed.
-
Ignoring nausea and nearly vomiting through the test. Consequence: the test may have to be repeated, and the stress is higher than necessary. Better alternative: tell the staff early; they may be able to adjust the setting or timing.
-
Reading the number without the lab’s threshold. Consequence: confusion, because the same glucose value can mean different things under different protocols. Better alternative: ask for the actual reference range or diagnostic cutoff used by that lab.
A lot of trouble comes from treating this like a plain blood draw. It isn’t. The pre-test conditions and the timing are part of the test itself, so it helps to have a clinician walk you through the instructions ahead of time.
Edge Cases and Modified Approaches
Some situations need a different route than the standard oral glucose drink.
If you’ve had bariatric surgery, especially procedures that change stomach emptying, a standard glucose load can trigger dumping symptoms and misleading readings. Clinicians may choose home glucose monitoring or another customized plan instead of the usual drink test.
If you cannot tolerate the glucose solution because of severe nausea, your team may postpone, repeat under different conditions, or consider a different screening strategy. The point is not to muscle through a test that can’t be completed cleanly.
If you have a history of preexisting diabetes, the question is usually not whether you will “develop” gestational diabetes. The question becomes how to classify and manage elevated glucose during pregnancy. That usually requires professional oversight rather than routine screening logic.
If your clinic uses a one-step OGTT, the process may be longer and more burdensome, but it can also give a clearer diagnostic answer without a separate screening step. If your clinic uses a two-step pathway, the first result is only a filter. Neither approach wins every time; the practical choice depends on the system, the patient population, and the clinician’s protocol.
If anemia, acute illness, or medications could affect the result, that should be reviewed in advance. In those cases, the question is not just whether you can complete the test, but whether the result will actually tell the clinician anything useful.
What to Expect: Realistic Timeline and Outcomes
Usually, the process unfolds in stages: an appointment or lab visit, a glucose drink or fasting blood draw, timed samples if needed, then a clinician review. Sometimes you hear back quickly; sometimes the result appears in a portal before anyone has explained it. That can be unsettling, but it’s common.
A normal result usually means no GDM diagnosis from that testing episode, though it does not guarantee glucose will stay normal later in pregnancy. A borderline or abnormal screen usually leads to a diagnostic test. A confirmed diagnosis often leads to a care plan that may include nutrition changes, self-monitoring of blood glucose, and closer pregnancy follow-up. I’m keeping that broad on purpose, because the exact plan is individualized and should come from your clinician.
The main limitation is simple: the test reflects a moment in time. Pregnancy hormones change glucose handling as pregnancy advances. A normal test in mid-pregnancy does not mean a future test would necessarily look the same. That’s one reason timing matters.
Cost / Price
The cost of gestational diabetes diagnosis: testing process explained varies by clinic, insurance plan, and country. In the U.S., a lab-based glucose screening or OGTT may be billed as part of prenatal care or as a separate laboratory charge, so you should ask for the price before testing if that matters to you. The most useful questions are whether the test is covered, whether there is a copay, and whether the follow-up diagnostic test has a separate fee.
If I had to boil the whole process down to one sentence, it would be this: get clear on the protocol before the test, follow the instructions exactly, and ask a qualified professional to explain the result in the context of your pregnancy. That is usually the safest way to make the numbers useful instead of confusing.
Drafted with AI; not yet reviewed by a person.